
3 Tips For Photographing Bridal Prep In Low Light
Sometimes I wonder really random things like who first thought to cook corn kernels overheat and then discovered popcorn?? Or who thought to carve a face into a pumpkin and how did it become such a worldwide tradition? Random butttt applicable to the season. Do I get points for that? ;)
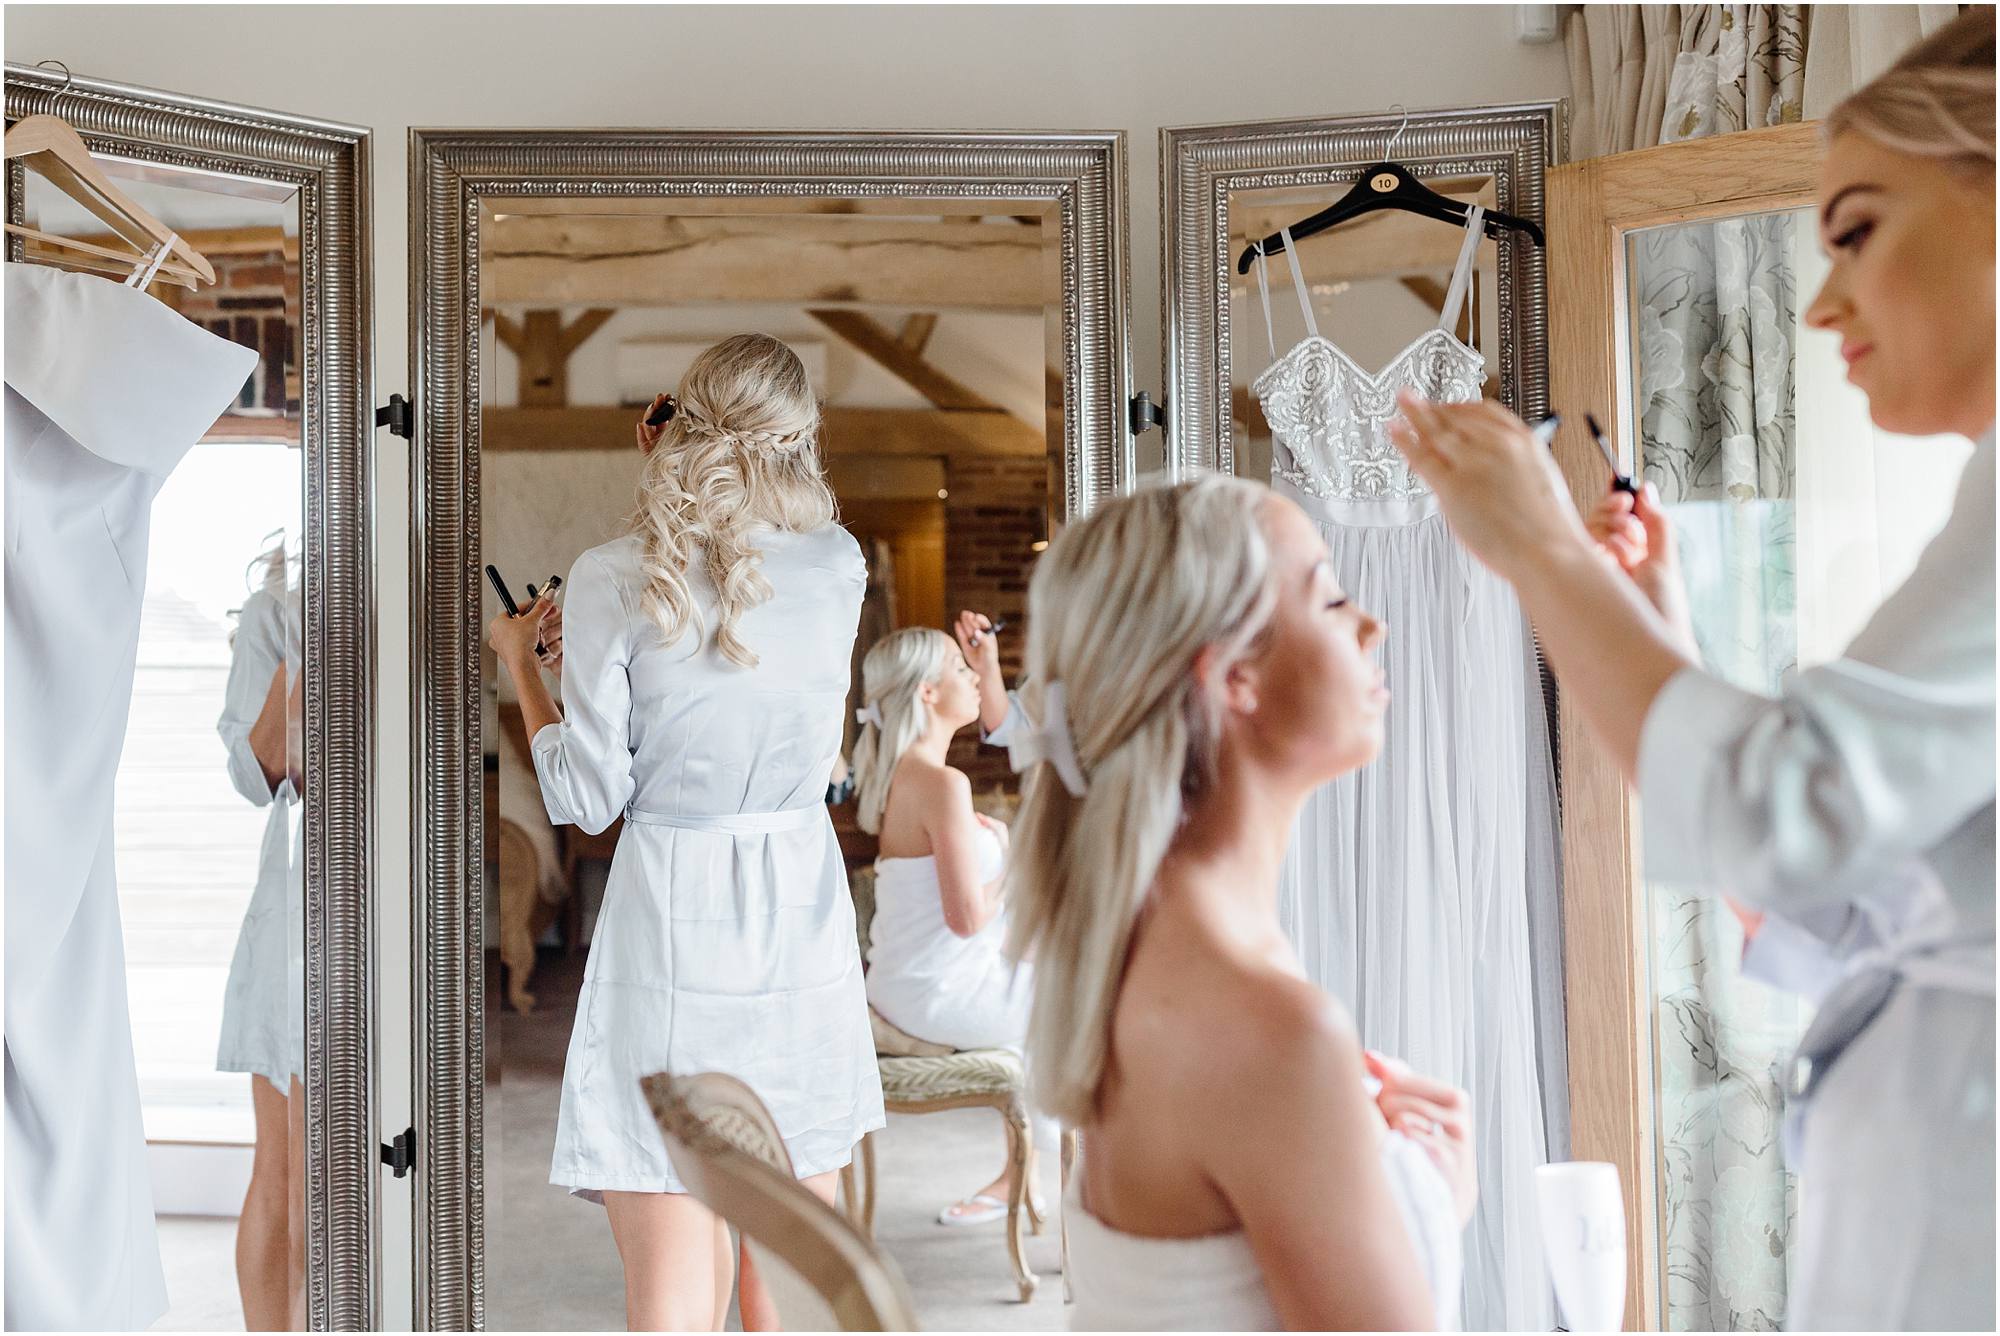
If your curiosity is anything like mine, you might have wondered something similar. And if your musings have ever involved how I shoot bridal prep in low light (I mean, some of the ugliest, yellowest light you can get!) today is your lucky day!
Here are 3 quick tips for photographing bridal prep in low light
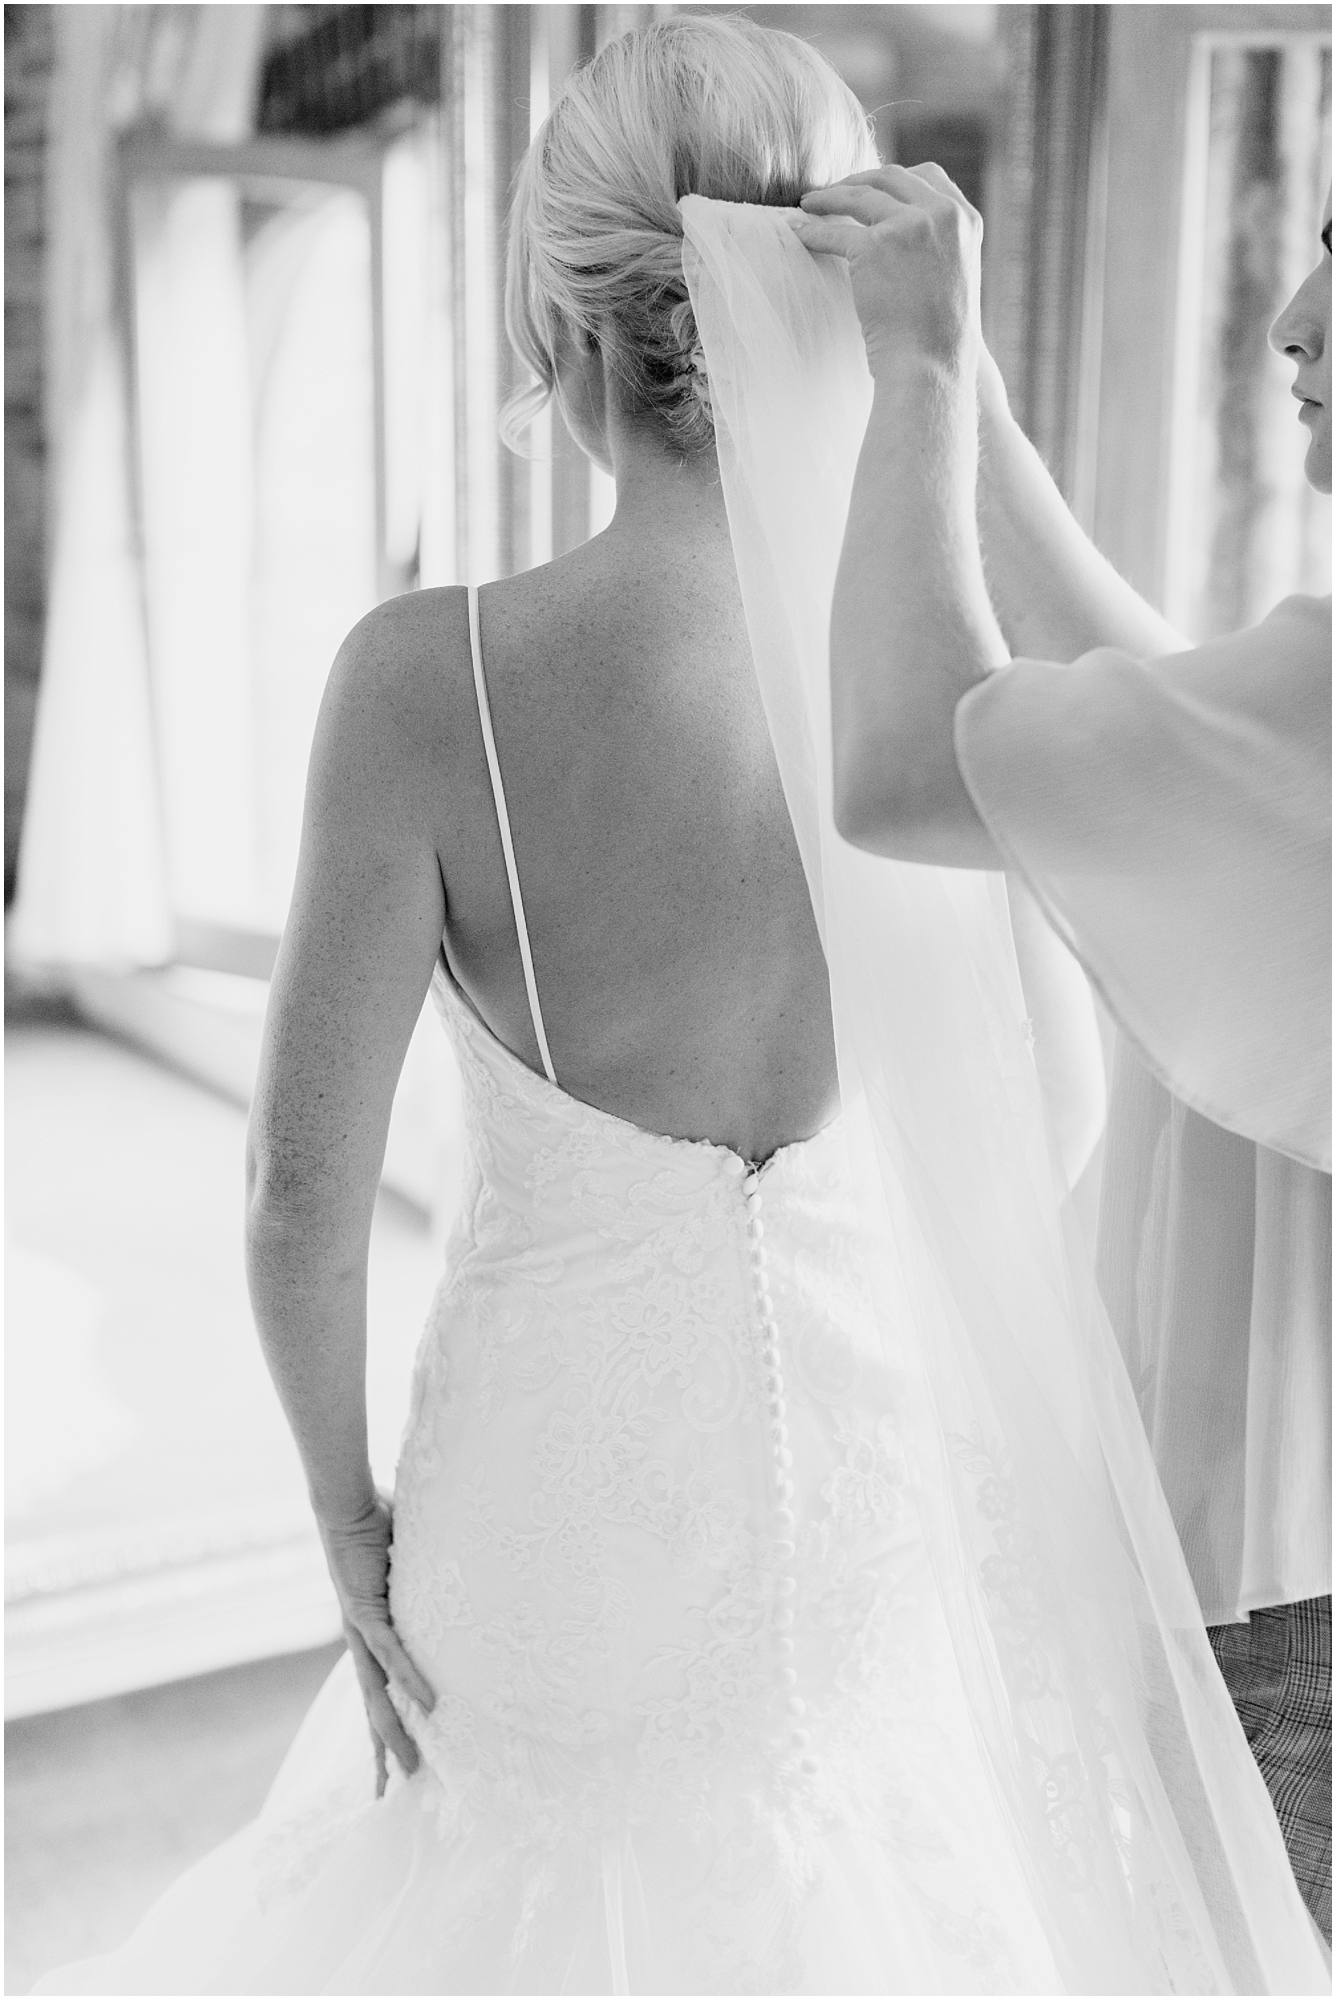
1. Aperture is everything! The wider your aperture is, the softer and creamier your photos are going to be which is perfect for bridal getting ready details. The wide aperture also allows more light into your camera so can counterbalance the low light. Typically, my settings for shooting bridal prep in a low lit room will be 1/160 – f 1.8 – ISO 800+
2. Check your white balance. I didn’t know what “shooting in Kelvin” meant until about 2 years into my business. I’m not ashamed to admit I usually shoot with my white balance settings on auto, because heck if I paid this much for a camera I’m gonna rely on some of its smart capabilities! Ha! But sometimes the auto white balance doesn’t cut it. In these cases, shooting with your white balance on Kelvin means you can manually adjust the coolness and warmness of the image to suit the room. This might be a good article to read if you want to learn more!
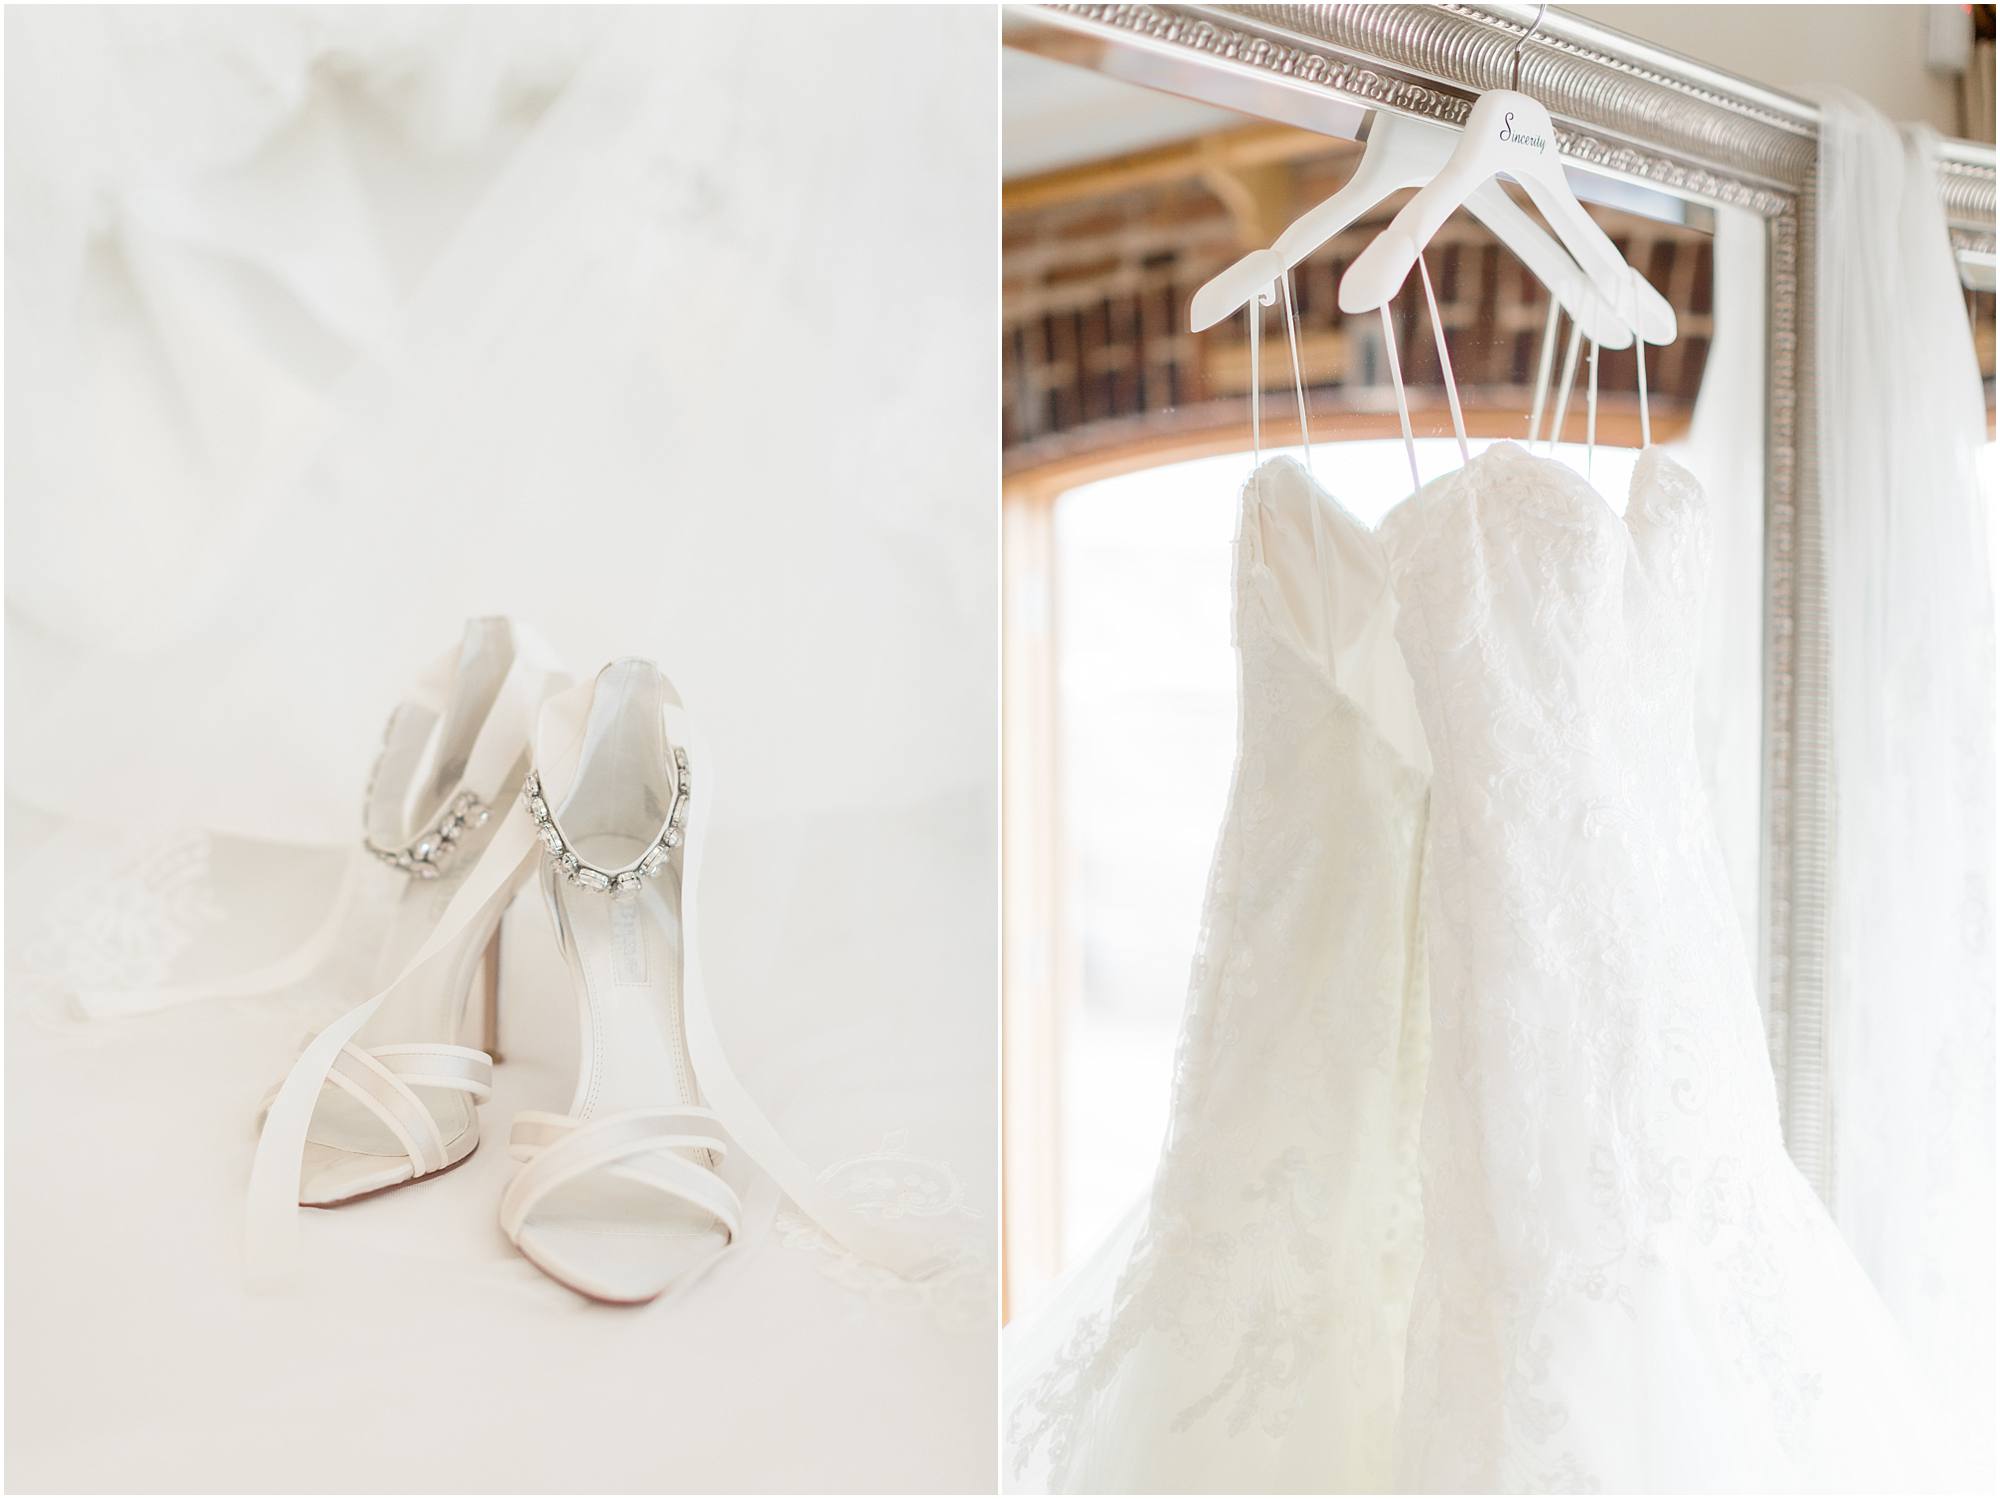
3. Open the curtains and turn off artificial lighting. This is probably the most helpful thing you could do for yourself! Get those curtains pulled back, move details into the window light for photographing and turn off the other lights in the room. This will minimize those orange and yellow tones drastically. Often times, your eye can’t see the effect of a bedside lamp that’s turned on. But when you start editing your photos later you will be able to see all those ugly color casts and wish you would have rid them in the first place. It’s best to ask permission first, but if you can turn the artificial lights off and let natural light flood in, your photos will be much lighter and softer and skin tones will be more spot on.
There you have it!
If you have any more questions, I’m always willing to help. Get in touch here!


Be the first to comment